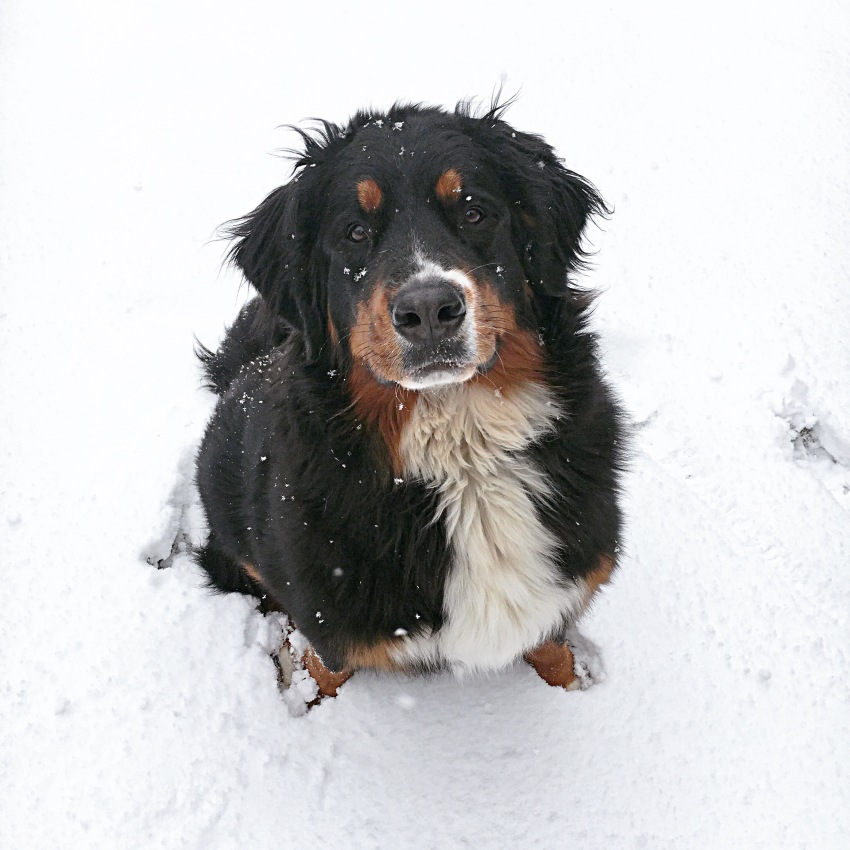
This is Olive. Olive is the oh-so-sweet Bernese Mountain Dog who joined our pack almost two years ago. If you’re asking yourself why a person would decide to get a third dog, you’re not alone. Our family thought we … Continue reading
This is Olive. Olive is the oh-so-sweet Bernese Mountain Dog who joined our pack almost two years ago. If you’re asking yourself why a person would decide to get a third dog, you’re not alone. Our family thought we … Continue reading
Just as I was trying to get out the door this morning, Berndt-pup hopped out the dog door with my pants in tow. It can be difficult at times, but I encourage you to find the humor in frustrating situations. I mean, how could I not smile? Apparently he wanted me to go to work this morning about as badly as I did. Happy Monday followers!!
**Be sure to check this photo and all things Snickled Pink on Instagram!


Christmas has always been my favorite holiday, so it should come as no surprise that our four-legged children have their own stockings that we hang each year. With the addition of a third puppy, it occurred to me that we no longer had enough matching dog stockings. I know exactly what you’re thinking, “Oh no! What are you going to do?!” I had a brief moment of panic as well, but fortunately, there are so many options online these days. In no time, I quickly found a stocking that I loved that had a personal touch for each pup. After some time swooning, it occurred to me that I was likely capable of making these myself, and so I did. Instead of paying over $100 for the three stockings, I spent $25 (with coupons) and about two and half hours one Friday night making them. Mind you, I have minimal sewing experience. If you’re thinking you can’t do this, you can. If you’ve got cats in the house, consider changing the shape of the stocking. I intend on making one for both my husband and myself too! No matter what shape you choose, the following instructions will make the process quick and easy for you and ensure a feeling of great accomplishment once you’re done.
Materials
Sewing Machine
3/4 Yard Burlap Fabric
3/4 Yard Cotton Fabric
1 Spool of Thread to Match Burlap
1 Yard Ribbon of Your Choice
Needle
Scissors
Bone Pattern (I used this one, but feel free to create your own. http://www.emblibrary.com/EL/elprojects/pdf/pr1765_pattern1.pdf)
Instructions
1. Spread folded burlap out on that table so that is nice and flat. You should have two layers of material. Place the bone pattern on top and pin to the fabric. Carefully cut around the pattern. You will have two bone-shaped pieces of burlap per stocking.
2. Repeat the exact same procedure with the cotton fabric. You will have two bone-shaped pieces of cotton per stocking. Burlap is not a very sturdy material, so these will serve as the lining or structure of your stocking.
3. Take one piece of lining, match it up with one piece of burlap, and pin just along the curved top of the bone.

4. You’ll want to set the stitch on your sewing machine to something sturdy and small. The more times that you can get the thread through the burlap, the better. Using your machine, sew the top of the bone that you have pinned.
5. Repeat with the two remaining pieces.
6. Take both sewn pieces and place them together so that the lined sides are touching. Pin from the curve up top, down the bone and back up.
 7. Using the same stitch as before, sew the area you have pinned.
8. Take the scrap cotton fabric and cut a piece 1 1/3 x 4 inches. This will be the hanging loop.
9. Fold 1/3 of material inward, then fold the opposing 1/3 on top of it. Pin to hold like this.
10. Using a simple stitch, sew the length of the fabric.
11. Place this piece in the upper left corner of your stocking, where your binding stitch ended. Pin and sew.
12. Take ribbon and tie a bow like you do a shoe lace. Take the two hang pieces, loop, and tuck into the knot. Adjust to your desired look.
13. Find the center of your stocking and pin the bow to it.

14. Thread the needle and use it to tack the bow on. Start by feeding the needle from the inside out. Knot your thread and trim excess.
15. Use scissors and cut fly-away threads and pieces of burlap. This will help keep the burlap from unraveling.
17. Hang stockings.
18. Pour a glass of wine. Sit back and bask in the glory of your beautiful creation.
